How to Create a Django Project
How to Create a Django Project
Requirements
- Python — Get the latest version of Python at https://www.python.org/downloads/ or with your operating system’s package manager.
- pip — pip is already installed if you are using Python 2 >=2.7.9 or Python 3 >=3.4 downloaded from python.org or if you are working in a Virtual Environment created by virtualenv or venv. Just make sure to upgrade pip.
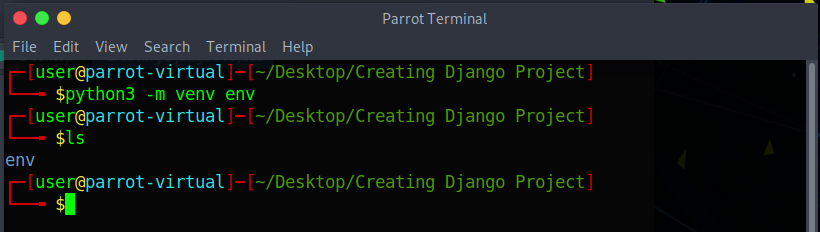
I. Creating Virtual Environment
Now Virtual Environment is a self-contained directory tree that contains a Python installation for a particular version of Python, plus a number of additional packages.
python3 -m venv env
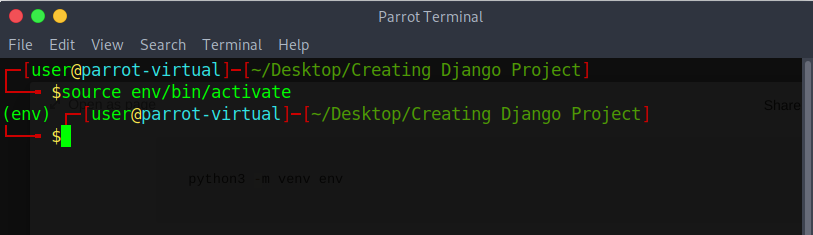
II. Activating Virtual Environment
After creating an Virtual Environment we need to activate it, in order to get inside it.
source env/bin/activate
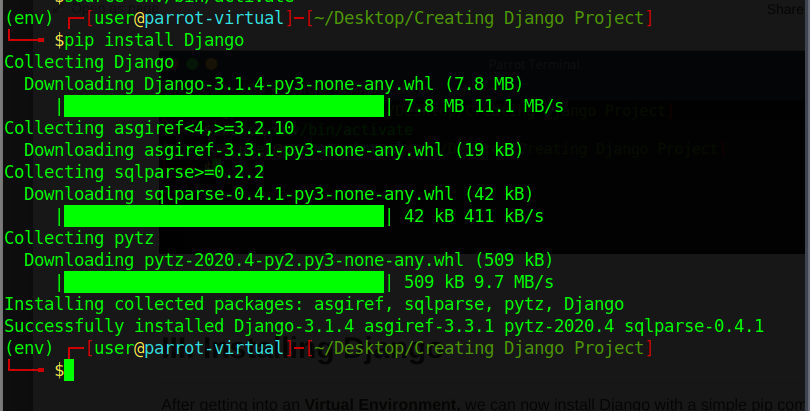
III. Installing Django
After getting into an Virtual Environment, we can now install Django with a simple pip command.
pip install Django
IV. Creating a Django Project
Now we have to create a project where we can start building our website.
django-admin startproject <Project's Name>
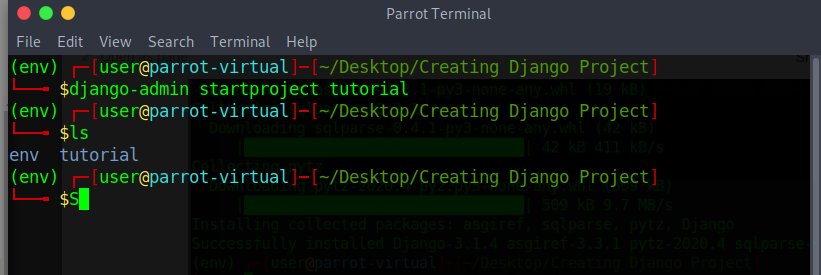
You’ll notice that a new folder named is created in the same directory as env.
V. Running the Development Server
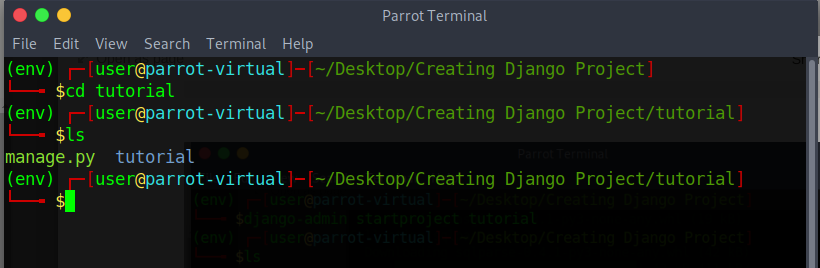
We’ll cd into tutorial directory, where you’ll find manage.py and a tutorial directory which is the main app of your Django Project.
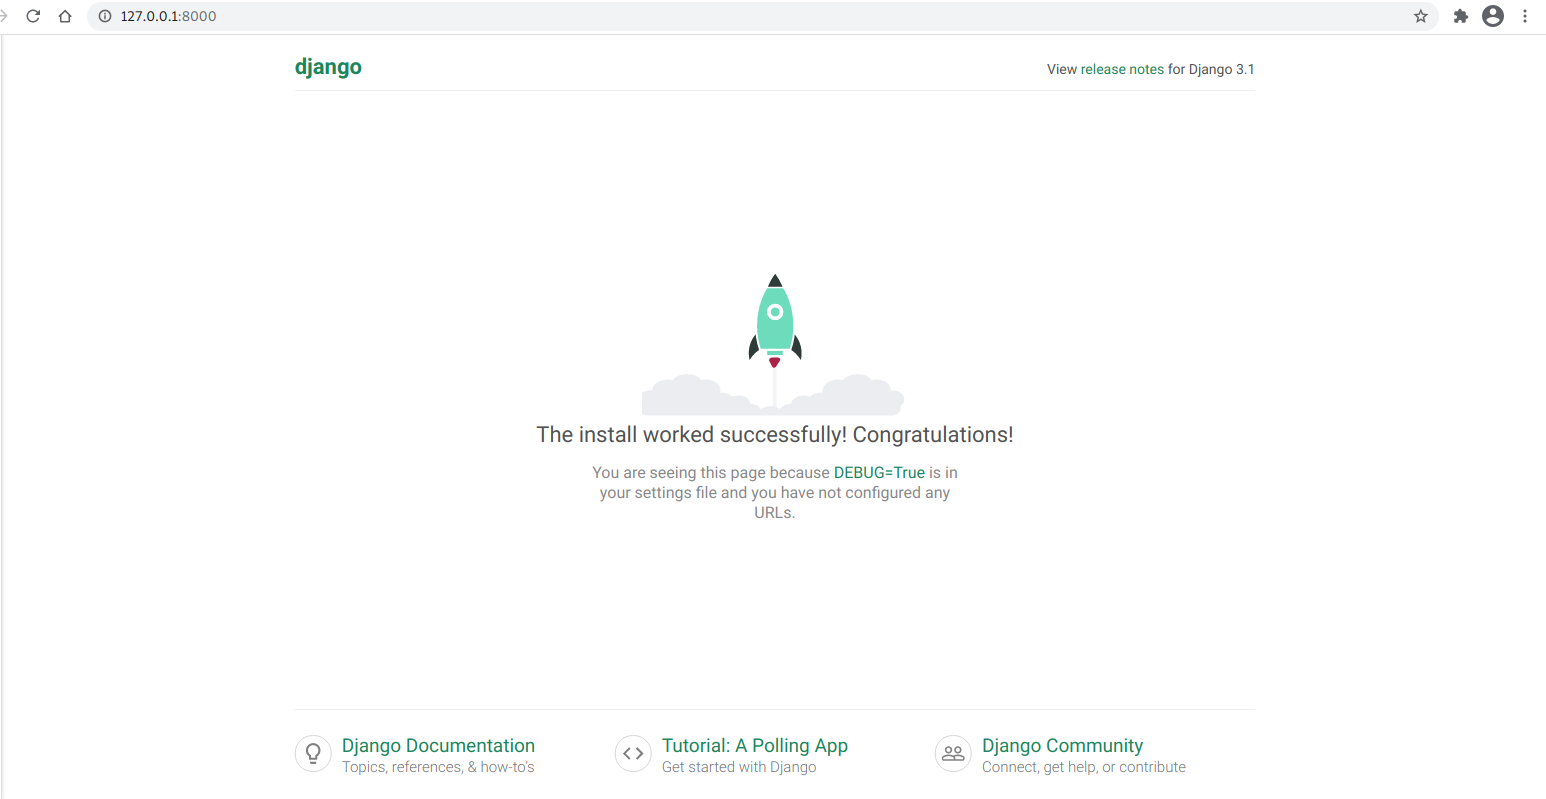
In order to run our server, we’ll type a runserver command.
python manage.py runserver

This command serves the development server to the localhost at port 8000, which can be accessed by visiting http://127.0.0.1:8000.
Ignore the warning about unapplied database migrations, that’ll be removed when you’ll further create an app within the project with database necessities.
that’s all peeps…….


