How to integrate MongoDb in your Next.js project
Updated
•3 min read
Creating a Next.js Project
- Initialise a Next.js project with npx.
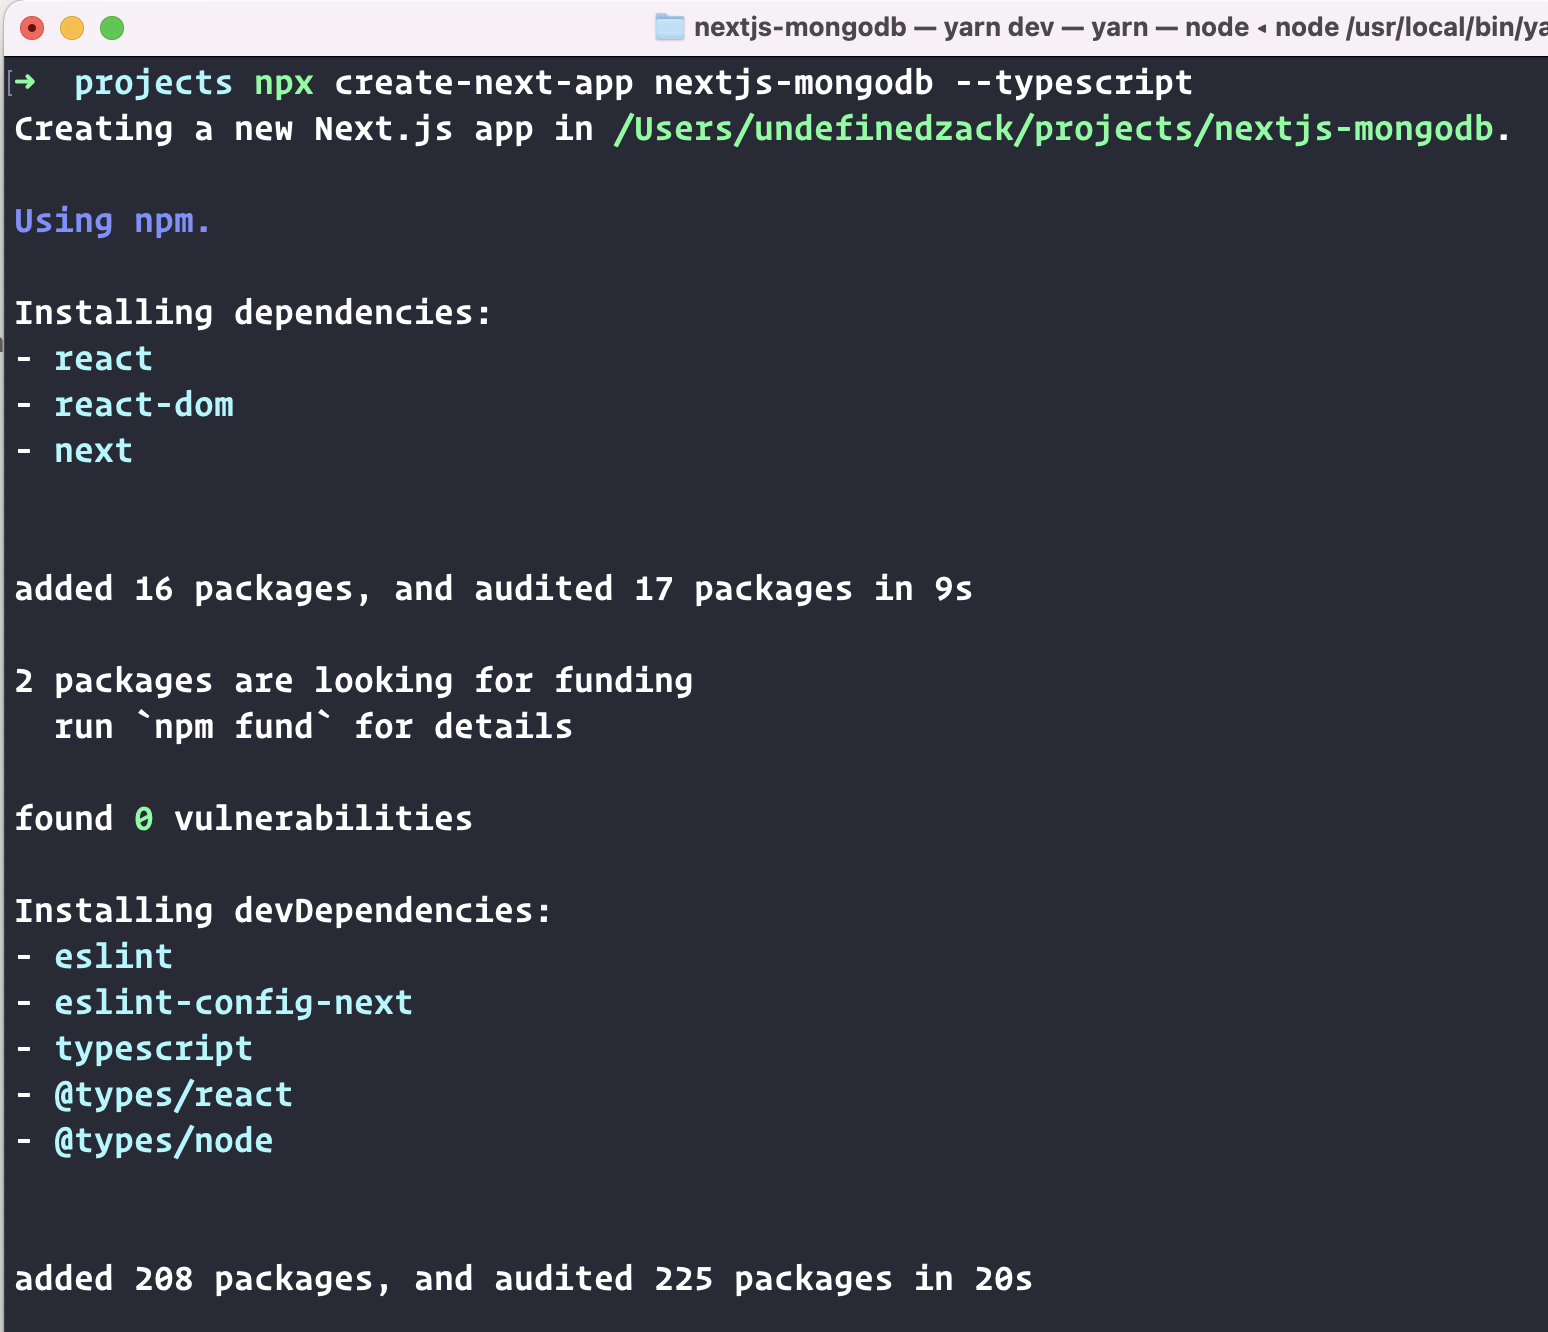
npx create-next-app nextjs-mongodb --typescript
- Thats it! Just open up your project in your favourite code editor.
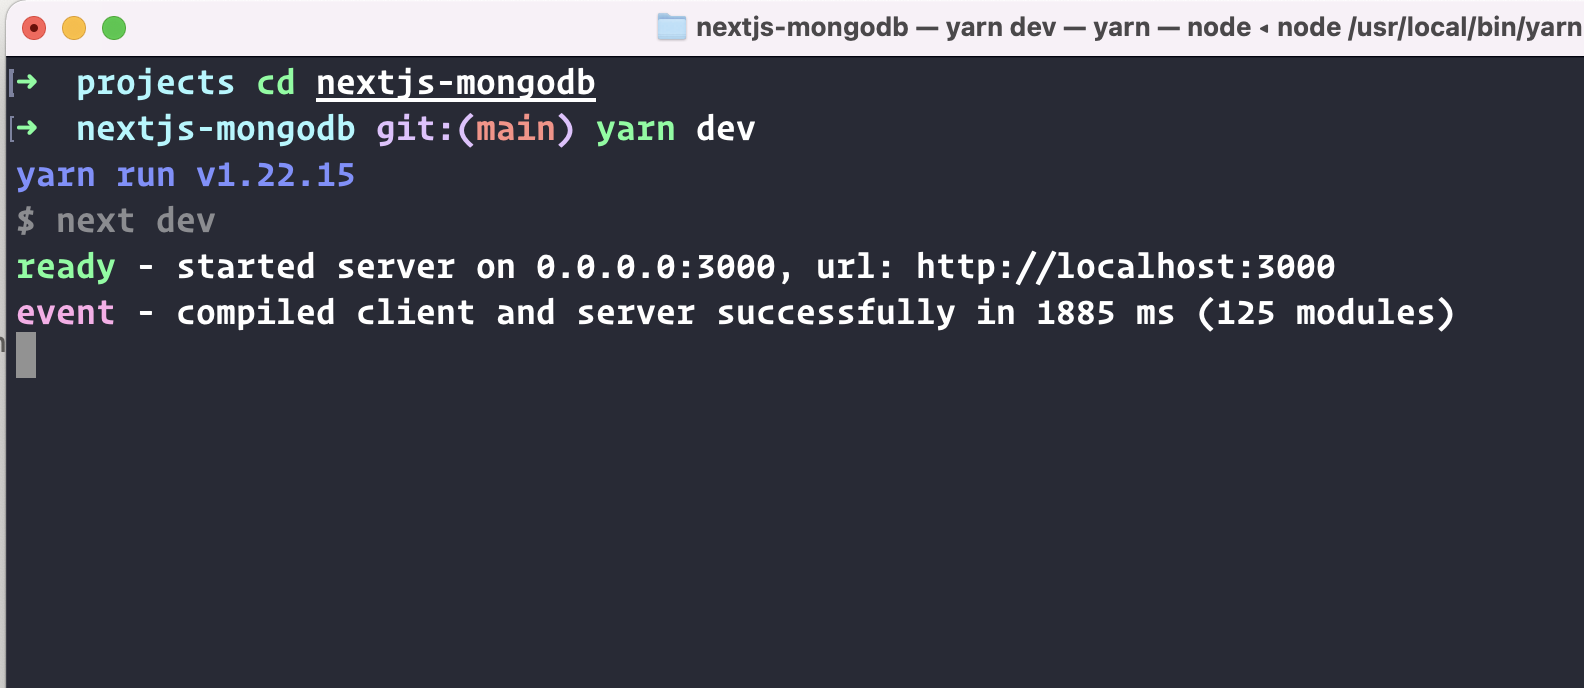
- Run the dev server
yarn dev
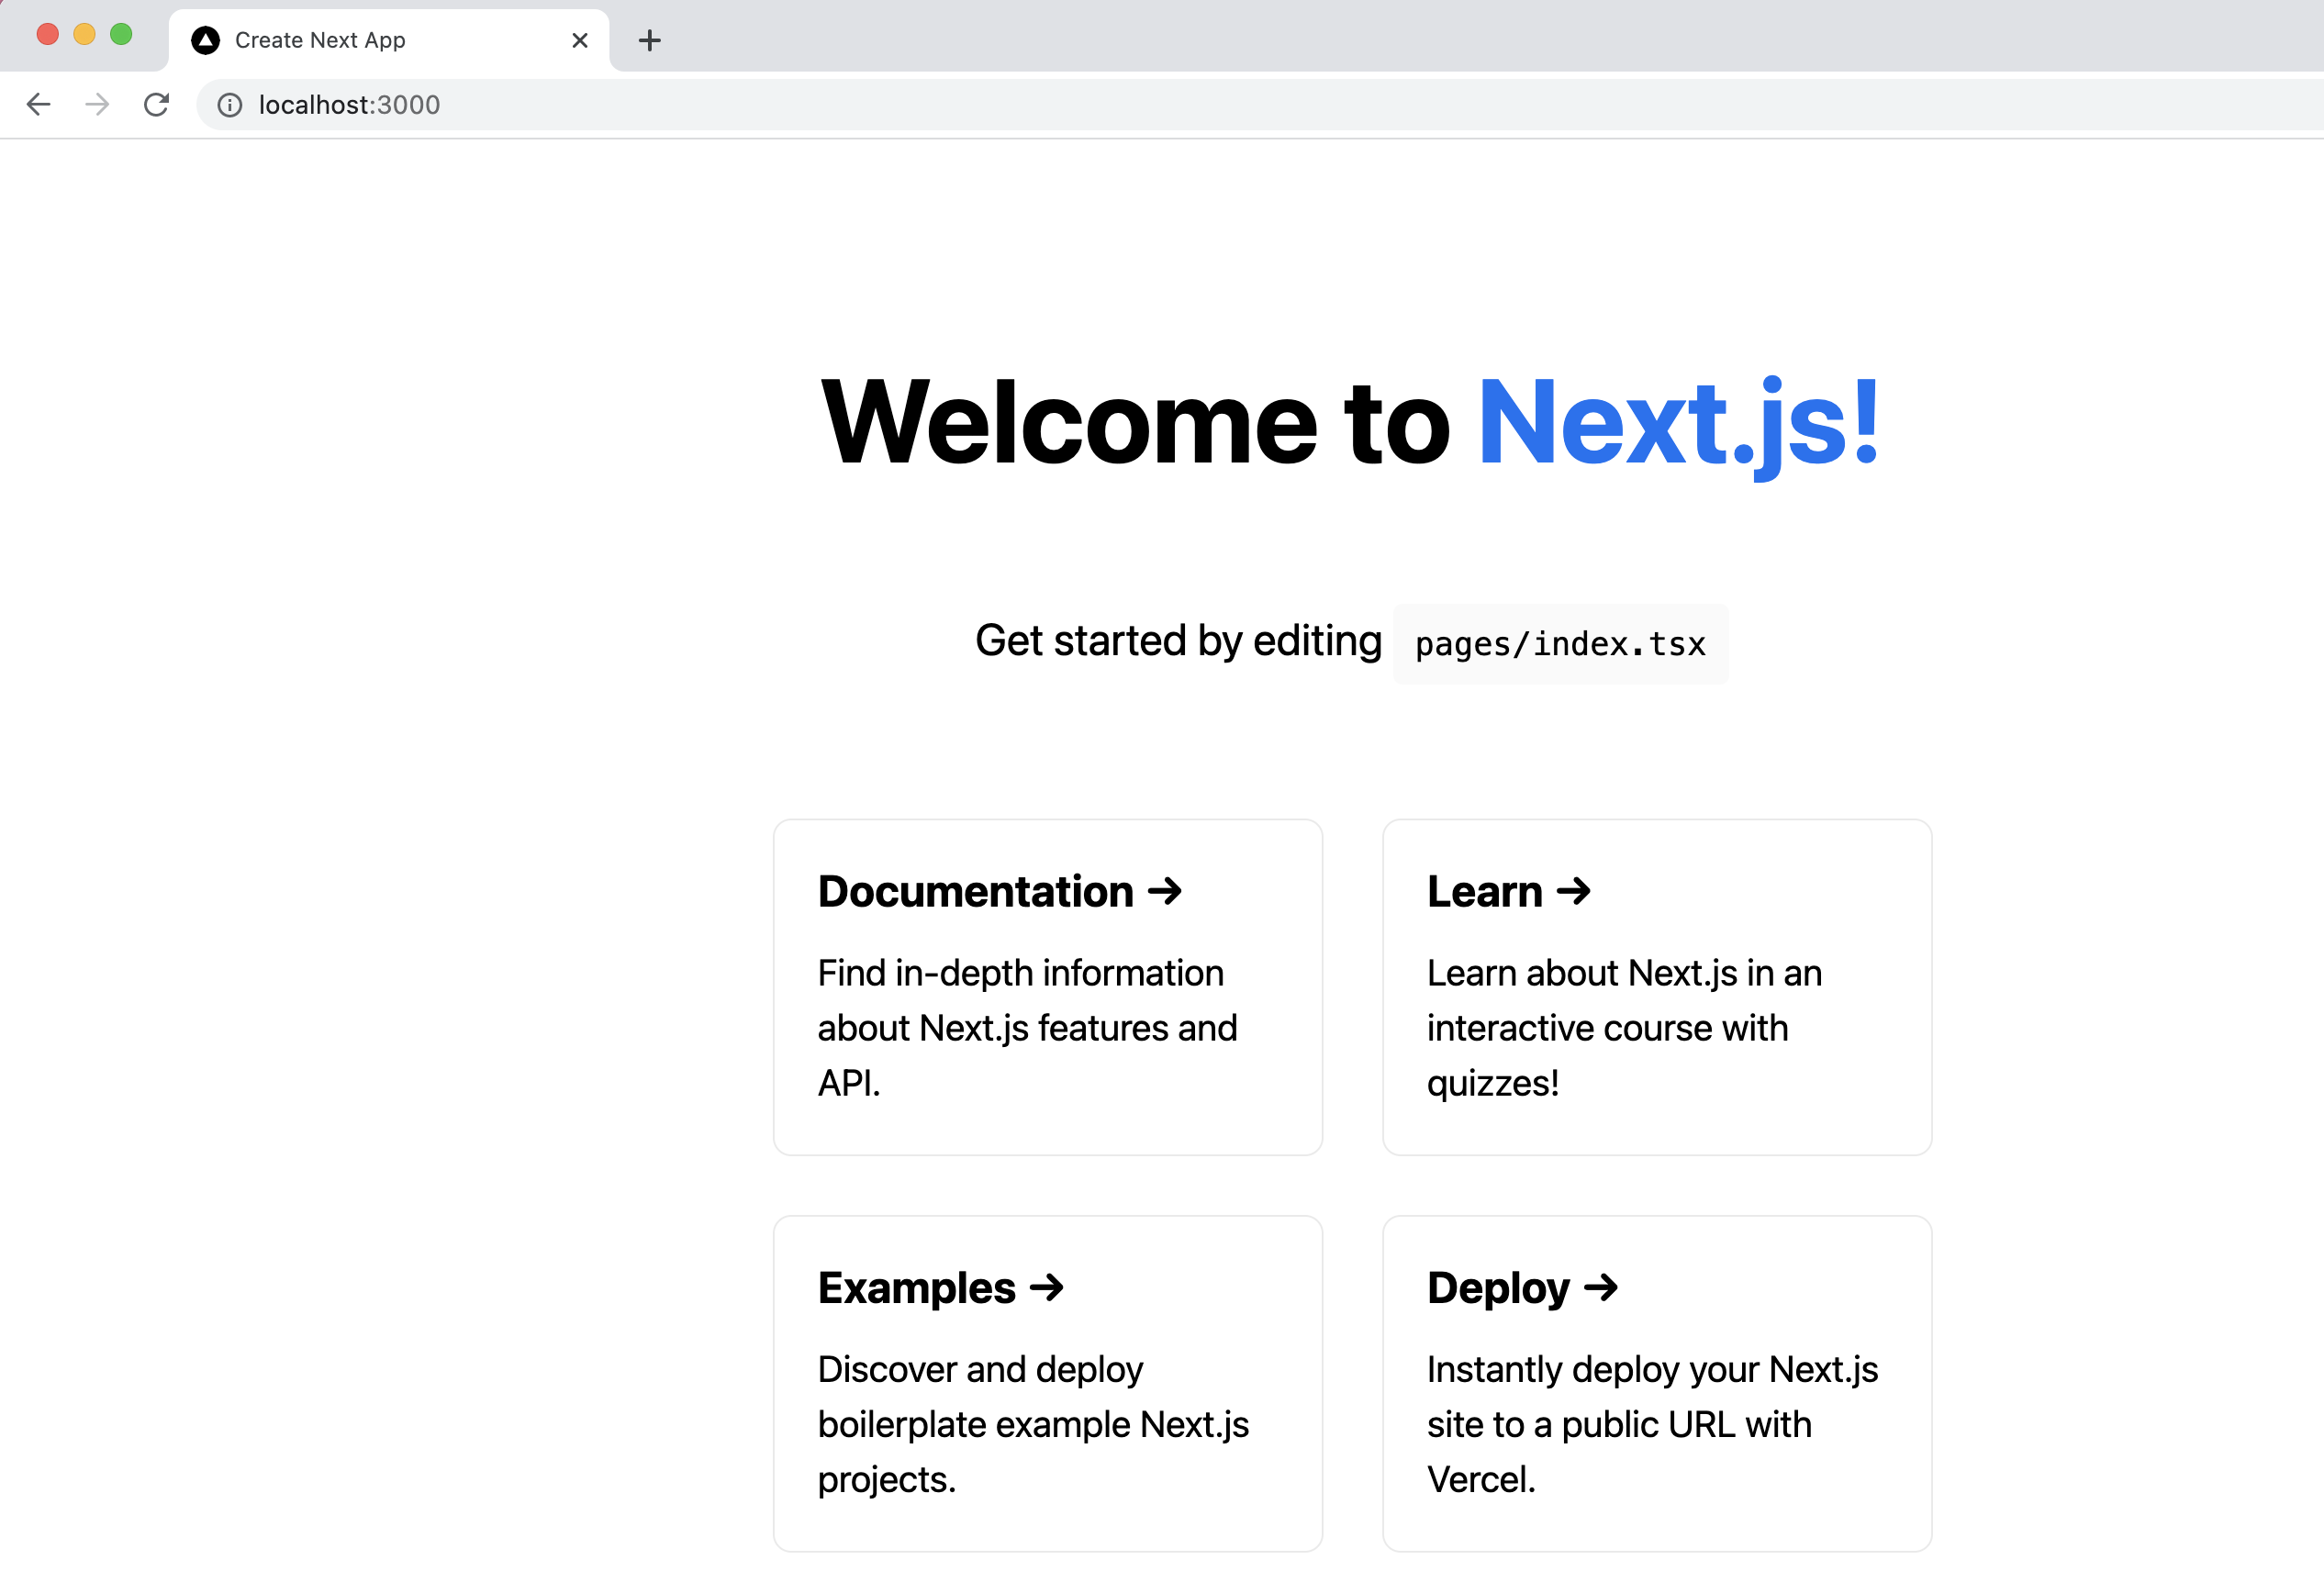
- Over to http://localhost:3000, we’ll see
Installing MongoDb
Use npm or yarn to install MongoDb
yarn add mongodb
Prerequisites
- If you don’t have a MongoDb Atlas Cluster, you can create one for free! Follow the steps from this article.
- Get your username and password, after going through the cluster setup and configuration of ip and address and connection string, which we’ll use to connect to our MongoDb from our Next.js app.
- If you prefer your database to be local instead of in the cloud, you can go through this article.
Let’s get started
- Create .env.local for storing our environment variables. Replace your respective credentials with Username, Password and Database-Name.
MONGODB_URI=mongodb+srv://Username:Password@cluster0.dnnhc.mongodb.net/Database-Name?retryWrites=true&w=majority
MONGODB_DB=Database-Name
- Create a lib folder inside your root directory, here we’ll store our MongoDb config file.
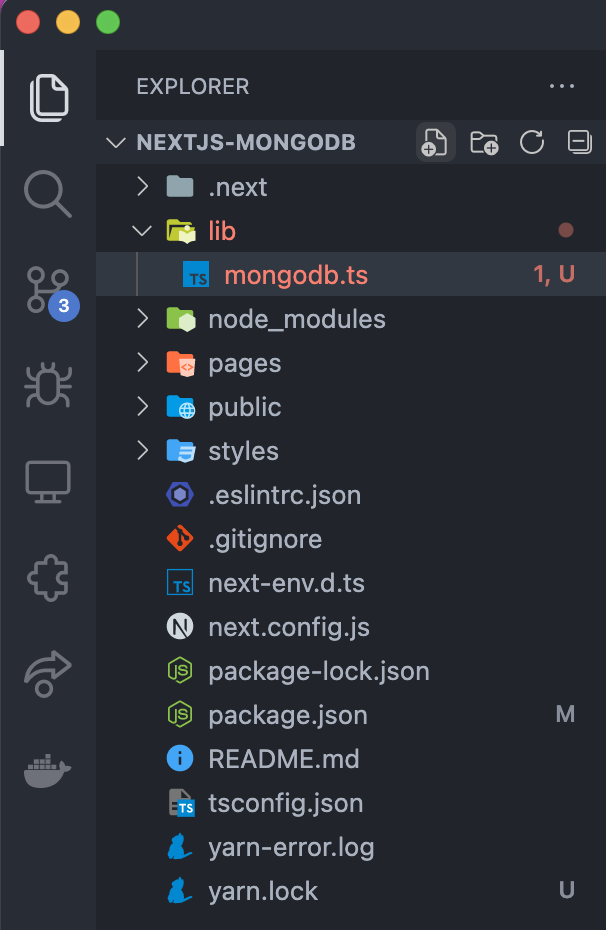
- Add a file named mongodb.ts inside the lib folder
import { Db, MongoClient } from "mongodb";

const MONGODB_URI = process.env.MONGODB_URI;
const MONGODB_DB = process.env.MONGODB_DB;

let cachedClient: MongoClient;
let cachedDb: Db;

export async function connectToDatabase() {
  // check the cached.
  if (cachedClient && cachedDb) {
    // load from cache
    return {
      client: cachedClient,
      db: cachedDb,
    };
  }

  // set the connection options
  const opts = {
    useNewUrlParser: true,
    useUnifiedTopology: true,
  };

  // check the MongoDB URI
  if (!MONGODB_URI) {
    throw new Error("Define the MONGODB_URI environmental variable");
  }
  // check the MongoDB DB
  if (!MONGODB_DB) {
    throw new Error("Define the MONGODB_DB environmental variable");
  }

  // Connect to cluster
  let client = new MongoClient(MONGODB_URI);
  await client.connect();
  let db = client.db(MONGODB_DB);

  // set cache
  cachedClient = client;
  cachedDb = db;

  return {
    client: cachedClient,
    db: cachedDb,
  };
}
- Here we’re defining a initialiser function which will check whether we are connected to our MongoDb instance, each time we call it, if not it’ll make a connection and will cache the same.
Creating API
- Load sample data or you can add some random data of your own in your database, to get some results instead of empty array when we’ll GET request them.
- For instance I’ve added my blogs to MongoDb and I’ll GET request them, you can do the similar by
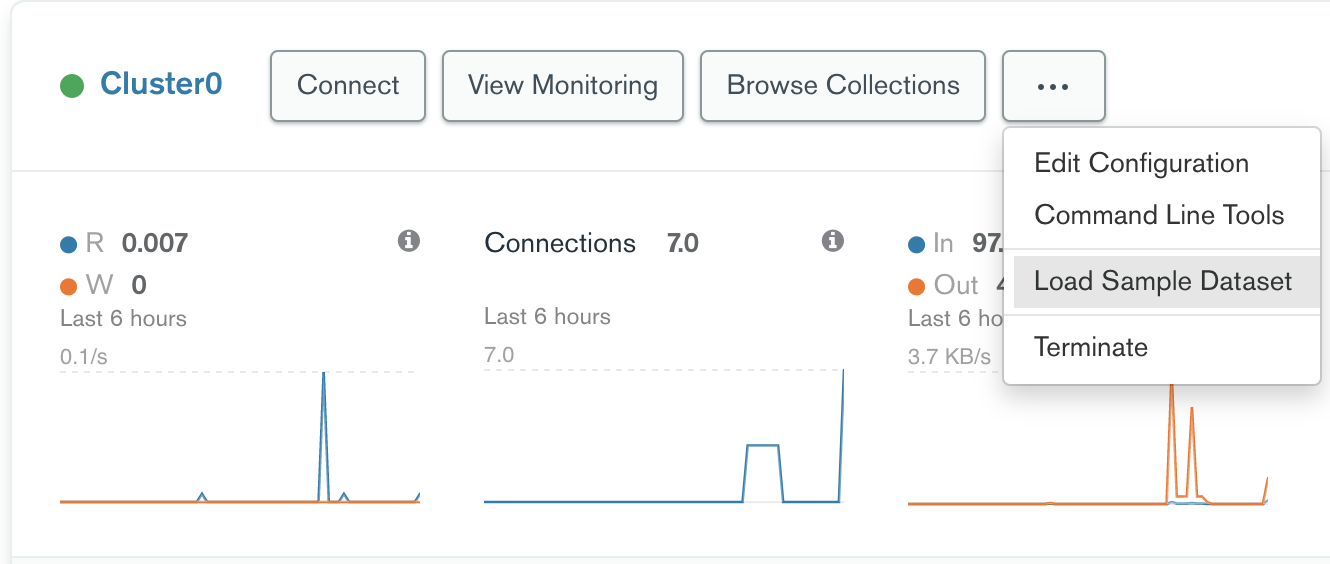
- Go to Browse Collections
- Click on Create Database
- Type what you wanna name your Database and Collection.
- Finally insert any document you want to.
- Remember you’ll have to replace the Database-Name in your .env.local file, with the name of your database you’ll create here.
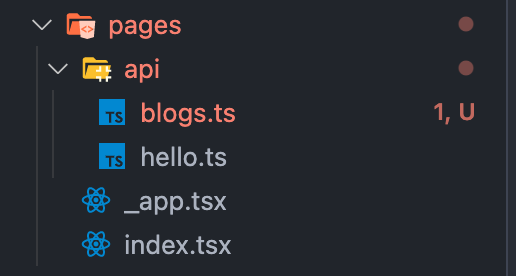
- Create a file (indirectly route, thanks to Next.js!) within pages/api folder, I’m making it for my blogs so I’ll create blogs.ts.
import { NextApiRequest, NextApiResponse } from "next";
import { connectToDatabase } from "../../lib/mongodb";

export default async function handler(
  req: NextApiRequest,
  res: NextApiResponse
) {
  let { db } = await connectToDatabase();

  const blogs = await db.collection("blogs").find().toArray();

  res.status(200).json({ blogs });
}
- replace blogs with your collection name.
- Here we are calling our connectToDatabase() function to get our db instance and fetching everything inside our blogs collection.
Result
- Now head over to you browser and open up, to test our api.
http://localhost:3000/api/blogs
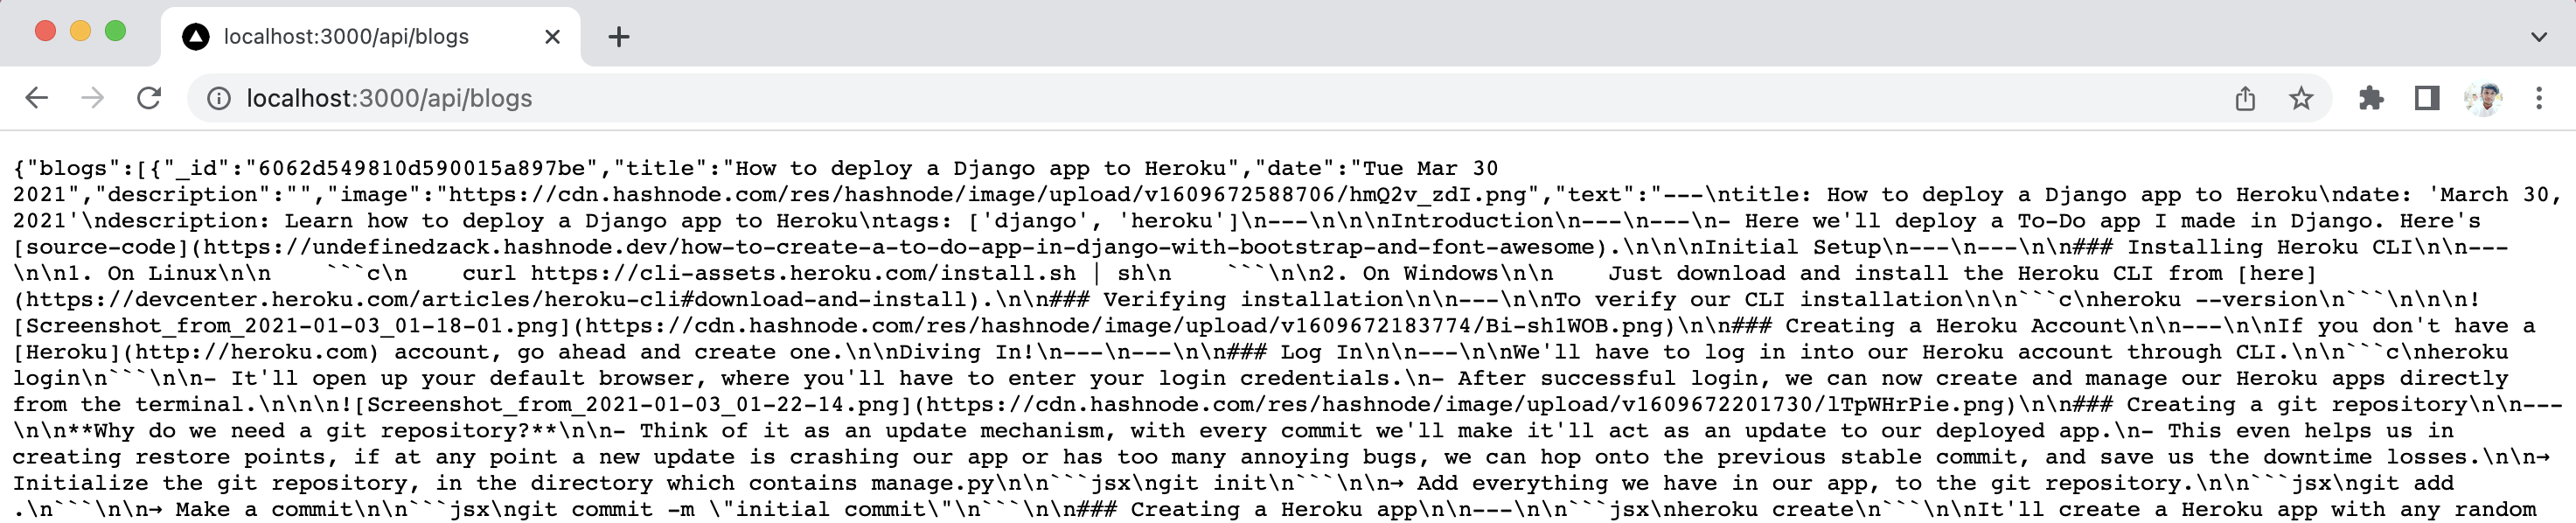
- and it’s working!
- Now you can customise the api with CRUD or whatnot as per your needs. There’s no end to the extent of customisation.
That’s all peeps...

